It's happened to everybody. Every once in a while, there comes a moment when you need the Internet right away. And, somehow, you find yourself without access to it.
What you may not realize is that you already have a wireless connection through your phone. You can share your phone's Internet connection.
You can do this over a Wi-Fi hotspot. And it's not as complicated as you may think.
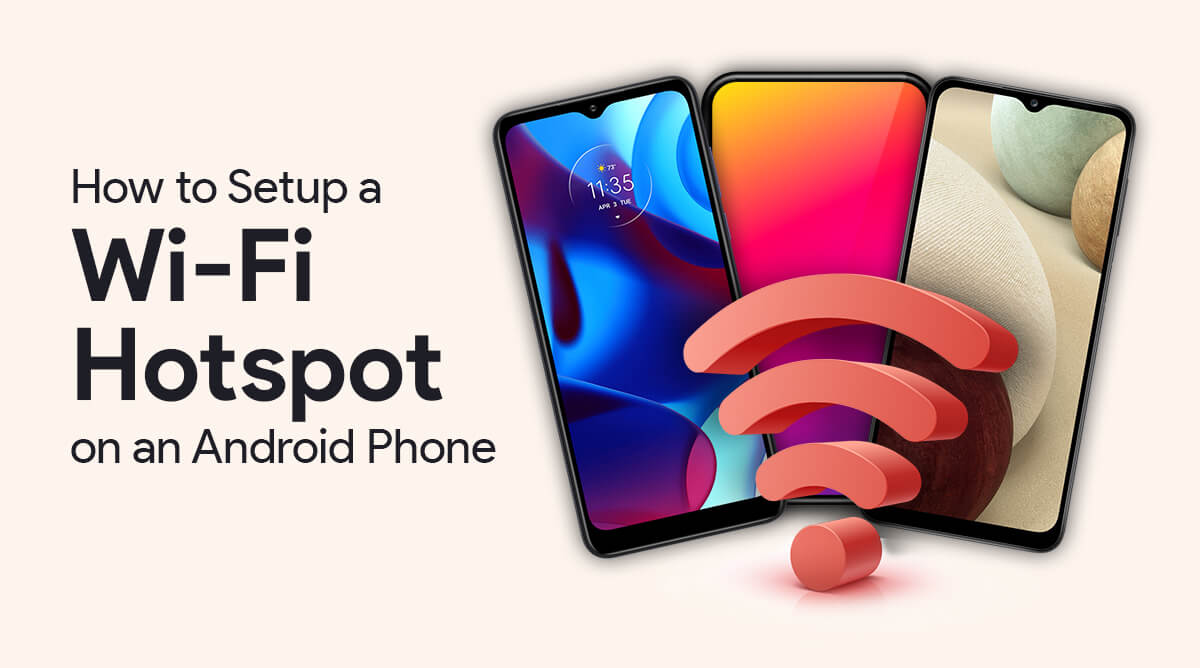
Learning how to set up this feature on your Android device will be a game-changer. And it will open up a world of opportunity with your Wi-Fi connection.
Not only will you be able to connect to go online, but you can connect many devices within the same network.
In the United States, there are 282 million mobile Internet users. And there are over 360 million public Wi-Fi hotspots available worldwide.
These statistics don't guarantee that you'll always have access to public Wi-Fi. That's when you'll benefit from using a personal hotspot.
This guide will show you how to enable the hotspot feature on your Android and more. Here's everything you need to know about how to set up a mobile hotspot on Android no matter where you go.
A mobile hotspot is the easiest way to connect to the Internet when there is no Wi-Fi signal nearby. It works by converting an LTE connection into a Wi-Fi signal that other mobile devices can connect to. These include tablets, computers, e-readers, and phones.
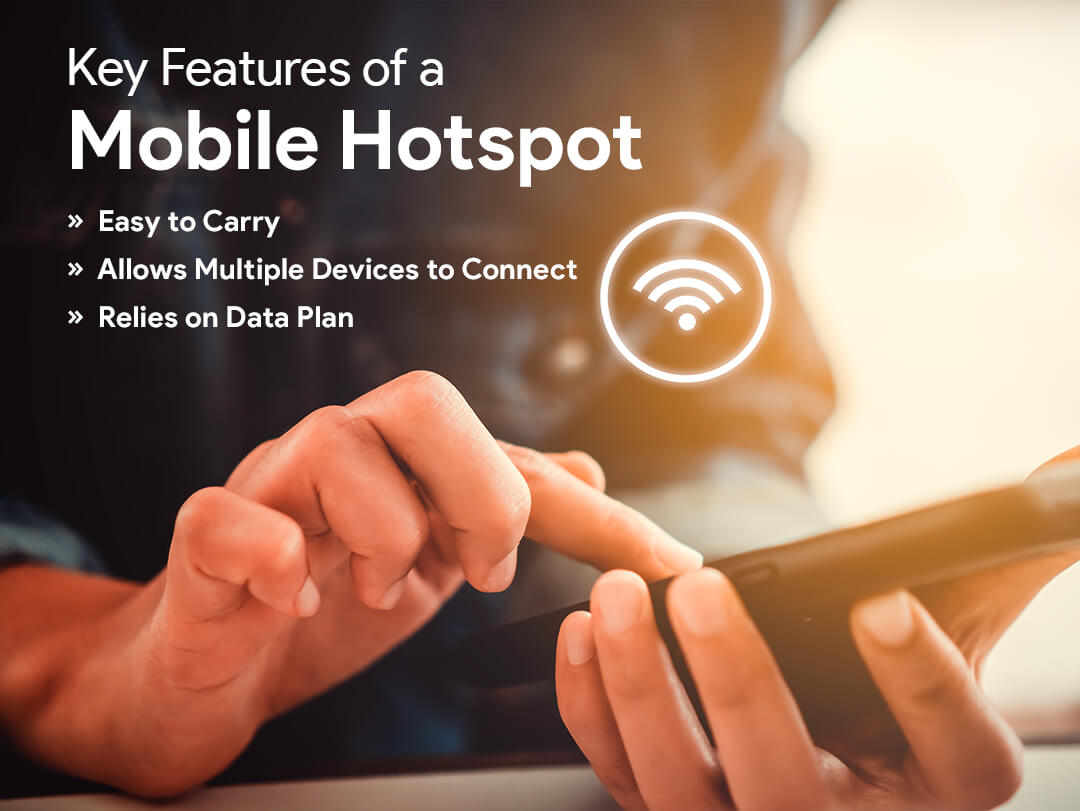
It's simple. One is built-in to your smartphone and the other one comes as a separate device. A portable hotspot is a small mobile router that helps you set up web access on the go.
The signal that you get will depend on your wireless provider. In general, a portable hotspot comes with 3G and 4G signals. And, because they're portable, they need a SIM card to provide connectivity.
Nowadays, most phones come with a mobile hotspot feature. The Android phone is no exception.
Once your hotspot creates a signal, you can use it to connect other devices over a Wi-Fi network of your own. This will provide you with a private hotspot connection and allow you to set up your Wi-Fi password.

Step 1. Navigate to the settings on your phone from your Home Screen. Open the Settings app.
Step 2. Your phone will display all the settings you can edit. Select Mobile Hotspot and Tethering.
Step 3. Next, tap Hotspot so that you can view your hotspot name and password.
Step 4. Once there, you can tap edit to change the password, turn the feature on and off, and even change the network name.
Step 5. Your Android will prompt you to follow instructions for every setting you want to change. You can customize as much as you want.
Step 6. You don't have to go through all the settings to turn on the Wi-Fi feature. You can swipe down from the top of the screen to view notifications. This will allow you to use the notification shade's quick settings.
If, for some reason, the Hotspot shortcut is not in quick settings, don't worry. All you have to do is tap Edit, long-press on the hotspot icon, and drag it to the grid of tiles. This will make everything easier in the future.
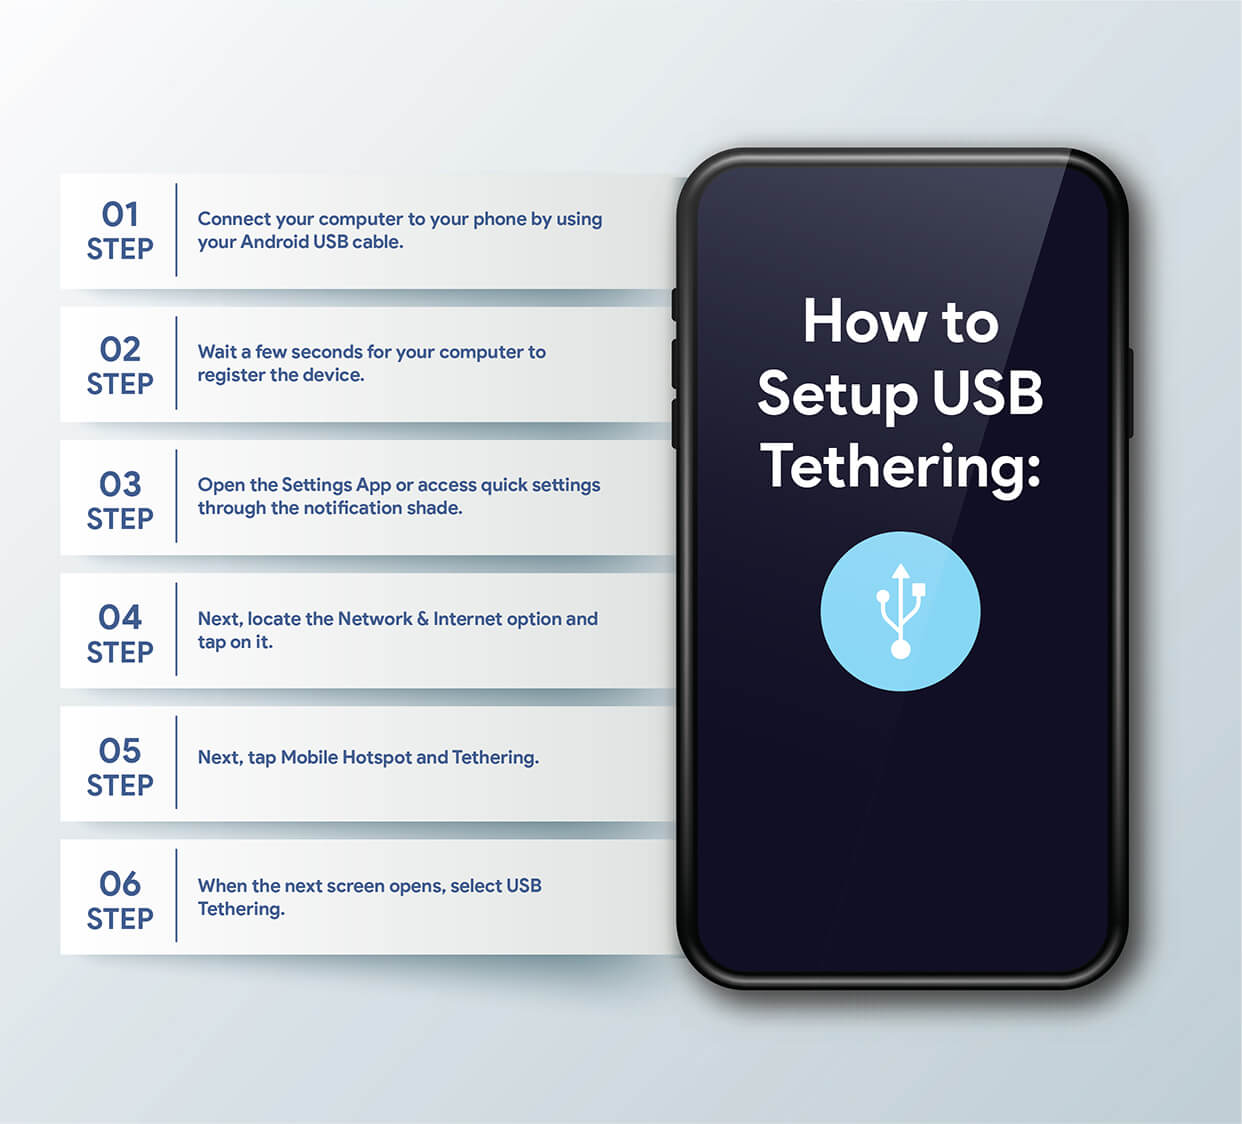
Your Android phone provides different ways for you to connect to a hotspot. However, keep in mind that not every device supports the USB feature. Double-check your Android before you follow these steps.
Step 1. Connect your computer to your phone by using your Android USB cable.
Step 2. Wait a few seconds for your computer to register the device.
Step 3. Open the Settings App or access quick settings through the notification shade.
Step 4. Next, locate the Network & Internet option and tap on it.
Step 5. Next, tap Mobile Hotspot and Tethering.
Step 6. When the next screen opens, select USB Tethering.
If you want to activate Bluetooth tethering, you can follow the same steps. Keep in mind that when you activate Bluetooth tethering over Wi-Fi or USB, it'll be much slower.
If you still want to move forward with connecting more devices, you can. But, it's best to do so over Bluetooth instead of using a USB cable as indicated in step one.
Yes, you can. These days, it's rare for a phone to come without a tethering option. But it may be the case if you're using an older smartphone.
If so, there are a couple of apps you can use: PdaNet+ or Portable Wi-Fi Hotspot. They both work in the same manner your phone does. You'll still be able to edit the password of your network and the network name.
![]()
Step 1. Go to your phone's Settings
Step 2. Navigate to Network and Settings
Step 3. Tap on Hotspot and Tethering
Step 4. Select Wi-Fi Hotspot
Step 5. To turn on the Wi-Fi, toggle the switch
Step 6. If you want to edit advanced settings like automatic shut off and the AP band, tap Set Up Wi-Fi Hotspot first. Once you do this, you'll be able to change the network name or update the password.